


So this year's Vacation Bible School (VBS) theme is Saddle Ridge Ranch, which is obviously a ranch/cowboy theme. I am helping w/ crafts this time; I usually assist Josh who's over Recreation but when I found out crafts needed a helper I WAS ALL IN! WOO HOO! So, my "craft" is this TOO CUTE Glitter Buckle Frame for the fridge! I've decided to show you step by step/pic by pic how to make one w/ your little one/s!
First off, you need supplies!
Supplies


foam square (we used the rectangles b/c I'm having to do 70! so I can get 4 out of 1 rectangle)
glitter (color is your choice)
glue (you will dillute this w/ water)
marker (this will be used to trace your design)
rope/yarn/ribbon
magnet strip (small 2" piece will work)
tape
hole punch
picture of choice
You can draw off whichever "Buckle shape" you like but we chose this one:
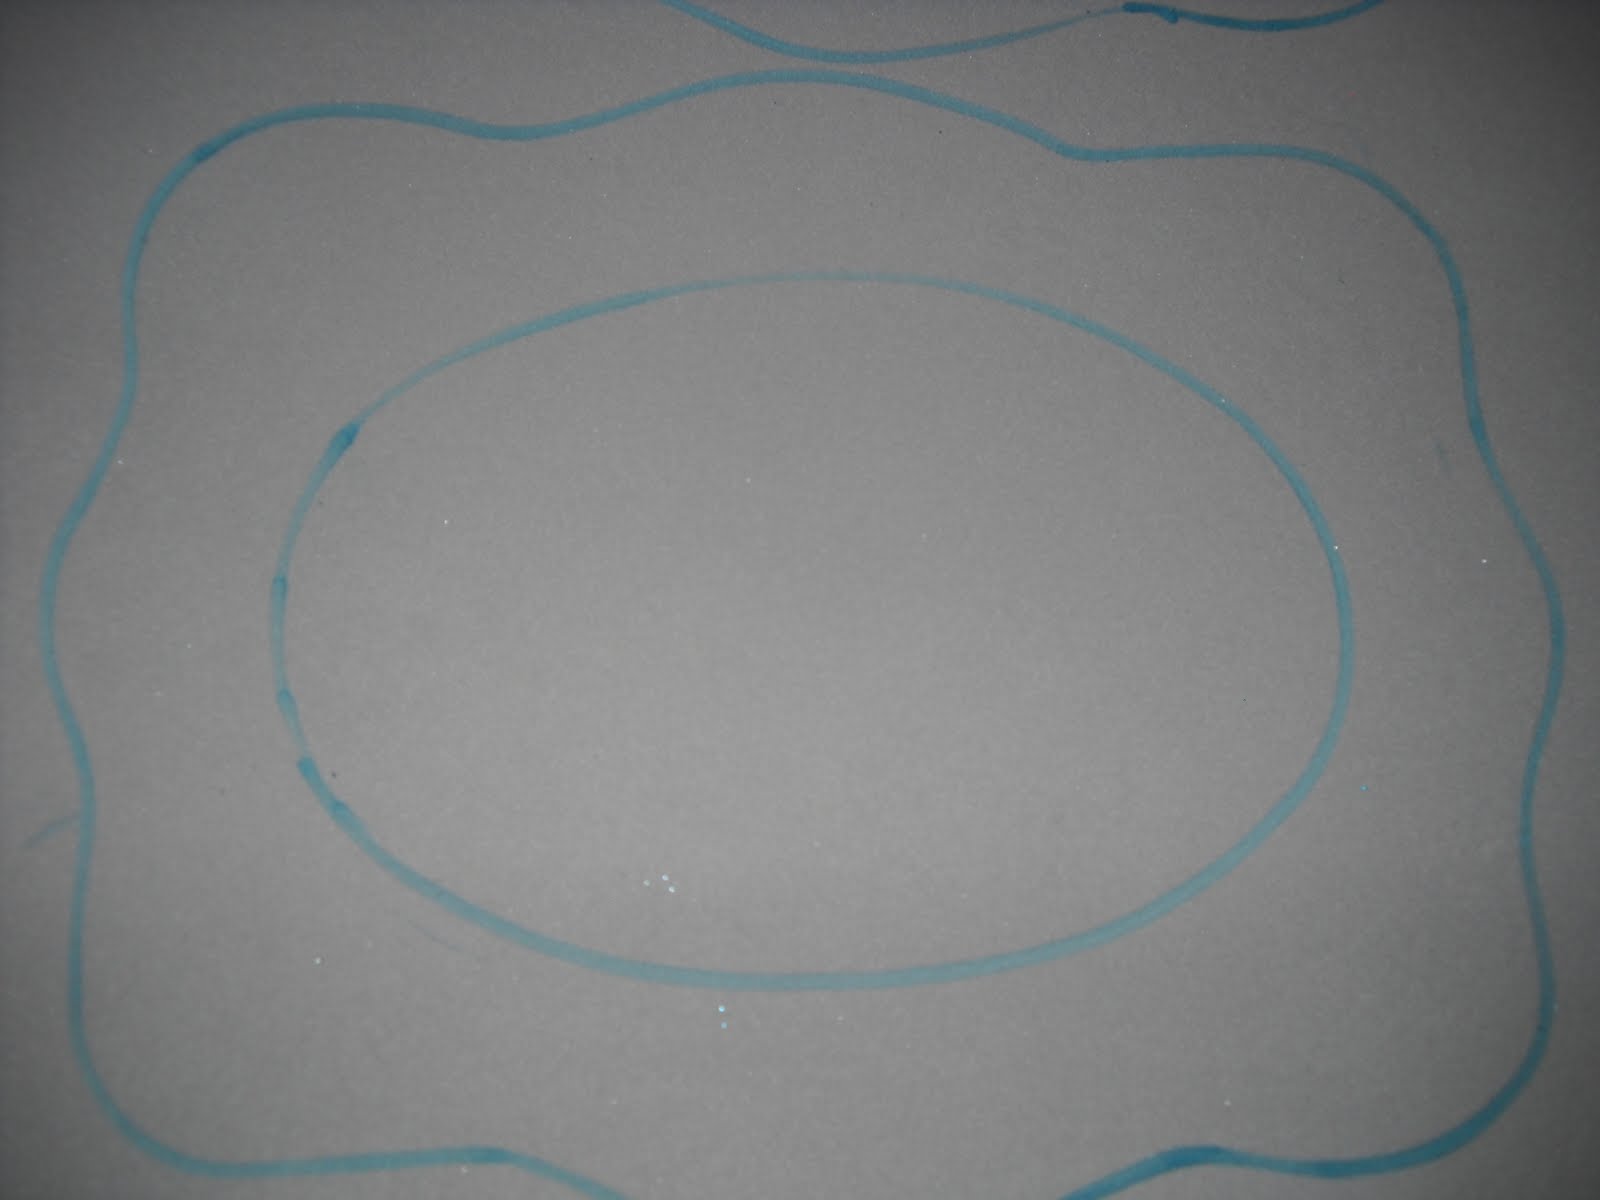
Then you will need to cut it out and cut the center out like so

Once you've cut the center oval out and the buckle frame out you will then need to take your glue and add a little bit of water to it to dilute it and then paint a medium-size layor of the diluted glue all over one side of the frame and before it dries, cover it in glitter by shaking the glitter all over it until each space is filled & covered. I advice you doing this outside so the glitter won't be all over your house! Once you've covered the entire frame w/ glitter, pick it up and shake it off to remove any excess glitter. Your frame should look like this at this point and we will now hole punch the holes in it:
to punch the holes, I just kinda gaged how I'd like it to look so I did 8 at first.

you can even use a decorative punch (it maybe hard to punch through the foam)


next, take your yarn/ribbon/rope and thread it through the holes you just punched

You can either tie it in a knot in the backside or you can tie it in a bow on the front like I did.

Now, you will take your picture of choice and your tape and position the picture the way you want it to be viewed through the opening and secure it w/ some tape on the 4 corners of the picture.

Now take the small piece of magnet (we used self-adhesive magnets w/ a sticky back) and apply it to the framed picture

AND HERE YA GO!

Happy crafting & God bless,


3 comments:
Impressed!
I just changed to the updated "post maker" (for lack of better word) and was excited that it had x-tra large as an option for picture size. It looked great when I created the post. Had big pictures with the text out to the side. I thought Yeah me look what I figured out. I published the post and then decided to view it and saw that all the text was below the picture and part of the picture was cut off. (It looked like your do in the frames) I went back and changed them to large & the fit in the frame things. Kind of long comment guess I should have messaged you. :)
Women who make babies should have some kind of donkey-saddlebag they wear to carry all their baby stuff in. Maybe you could make one of those and become rich.
Post a Comment